

Day 1 – June 5th 2025, transfer to the shed

Day 1 – the team starts working

Day 2- Deck cleared

Day 6 – Teak removed, down to fiberglass

Day 20 – Deck stripped down to the lower layer of fiberglass sandwich

Day 21- The balsa core of the fiberglass sandwich construction was rotten. So upper layer was removed.

Day 22 – Deck was reconstructed on the lower layer of fiberglass sandwich with plywood

Day 28 – Upper layer of fiberglass sandwich reconstructed with polyester resin & fiberglass cloth.

Day 32 – Most of the foredeck is covered

Day 34 – More layers of fiberglass cloth & polyester resin applied

Moving on with reconstructing the deck

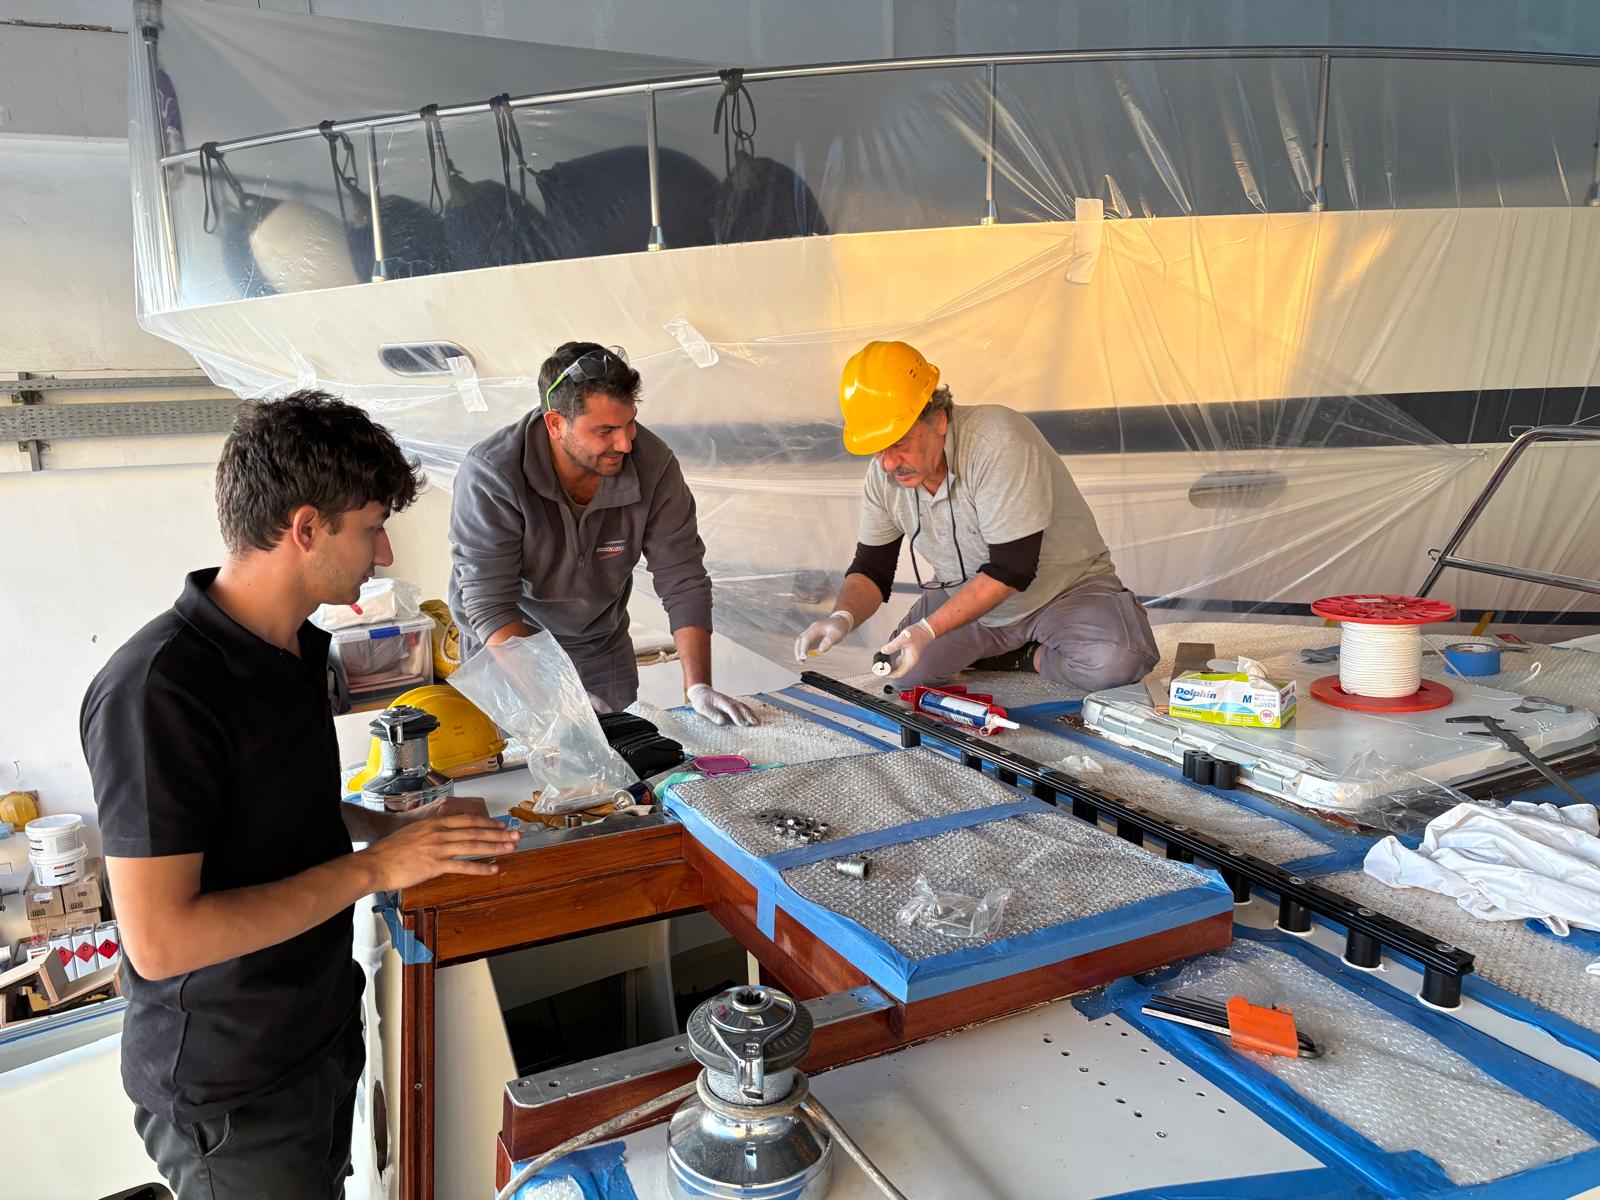
Aluminium plates installed on the gunwales for fixing genoa rails and are covered with fiberglass

Old large portholes are closed with plywood

Earlier portholes are covered by fiberglass to strengthen cabin

Gunwales are sanded and covered with fiberglass to act as an external skeleton

Day 136 – New smaller portholes are cut

Day 136- Mast step area is reinforced with 5 mm aluminum plate, 12 mm plywood and fiberglass

Day 152 – Deck is getting ready for paint

12 mm plexiglass fixed portholes are prepared for the sides of the cabin

Day 149 – Extra cleats are installed midships

Day 165 – New stanchion bases constructed one by one

Day 165 – Original stanchions ready after polishing

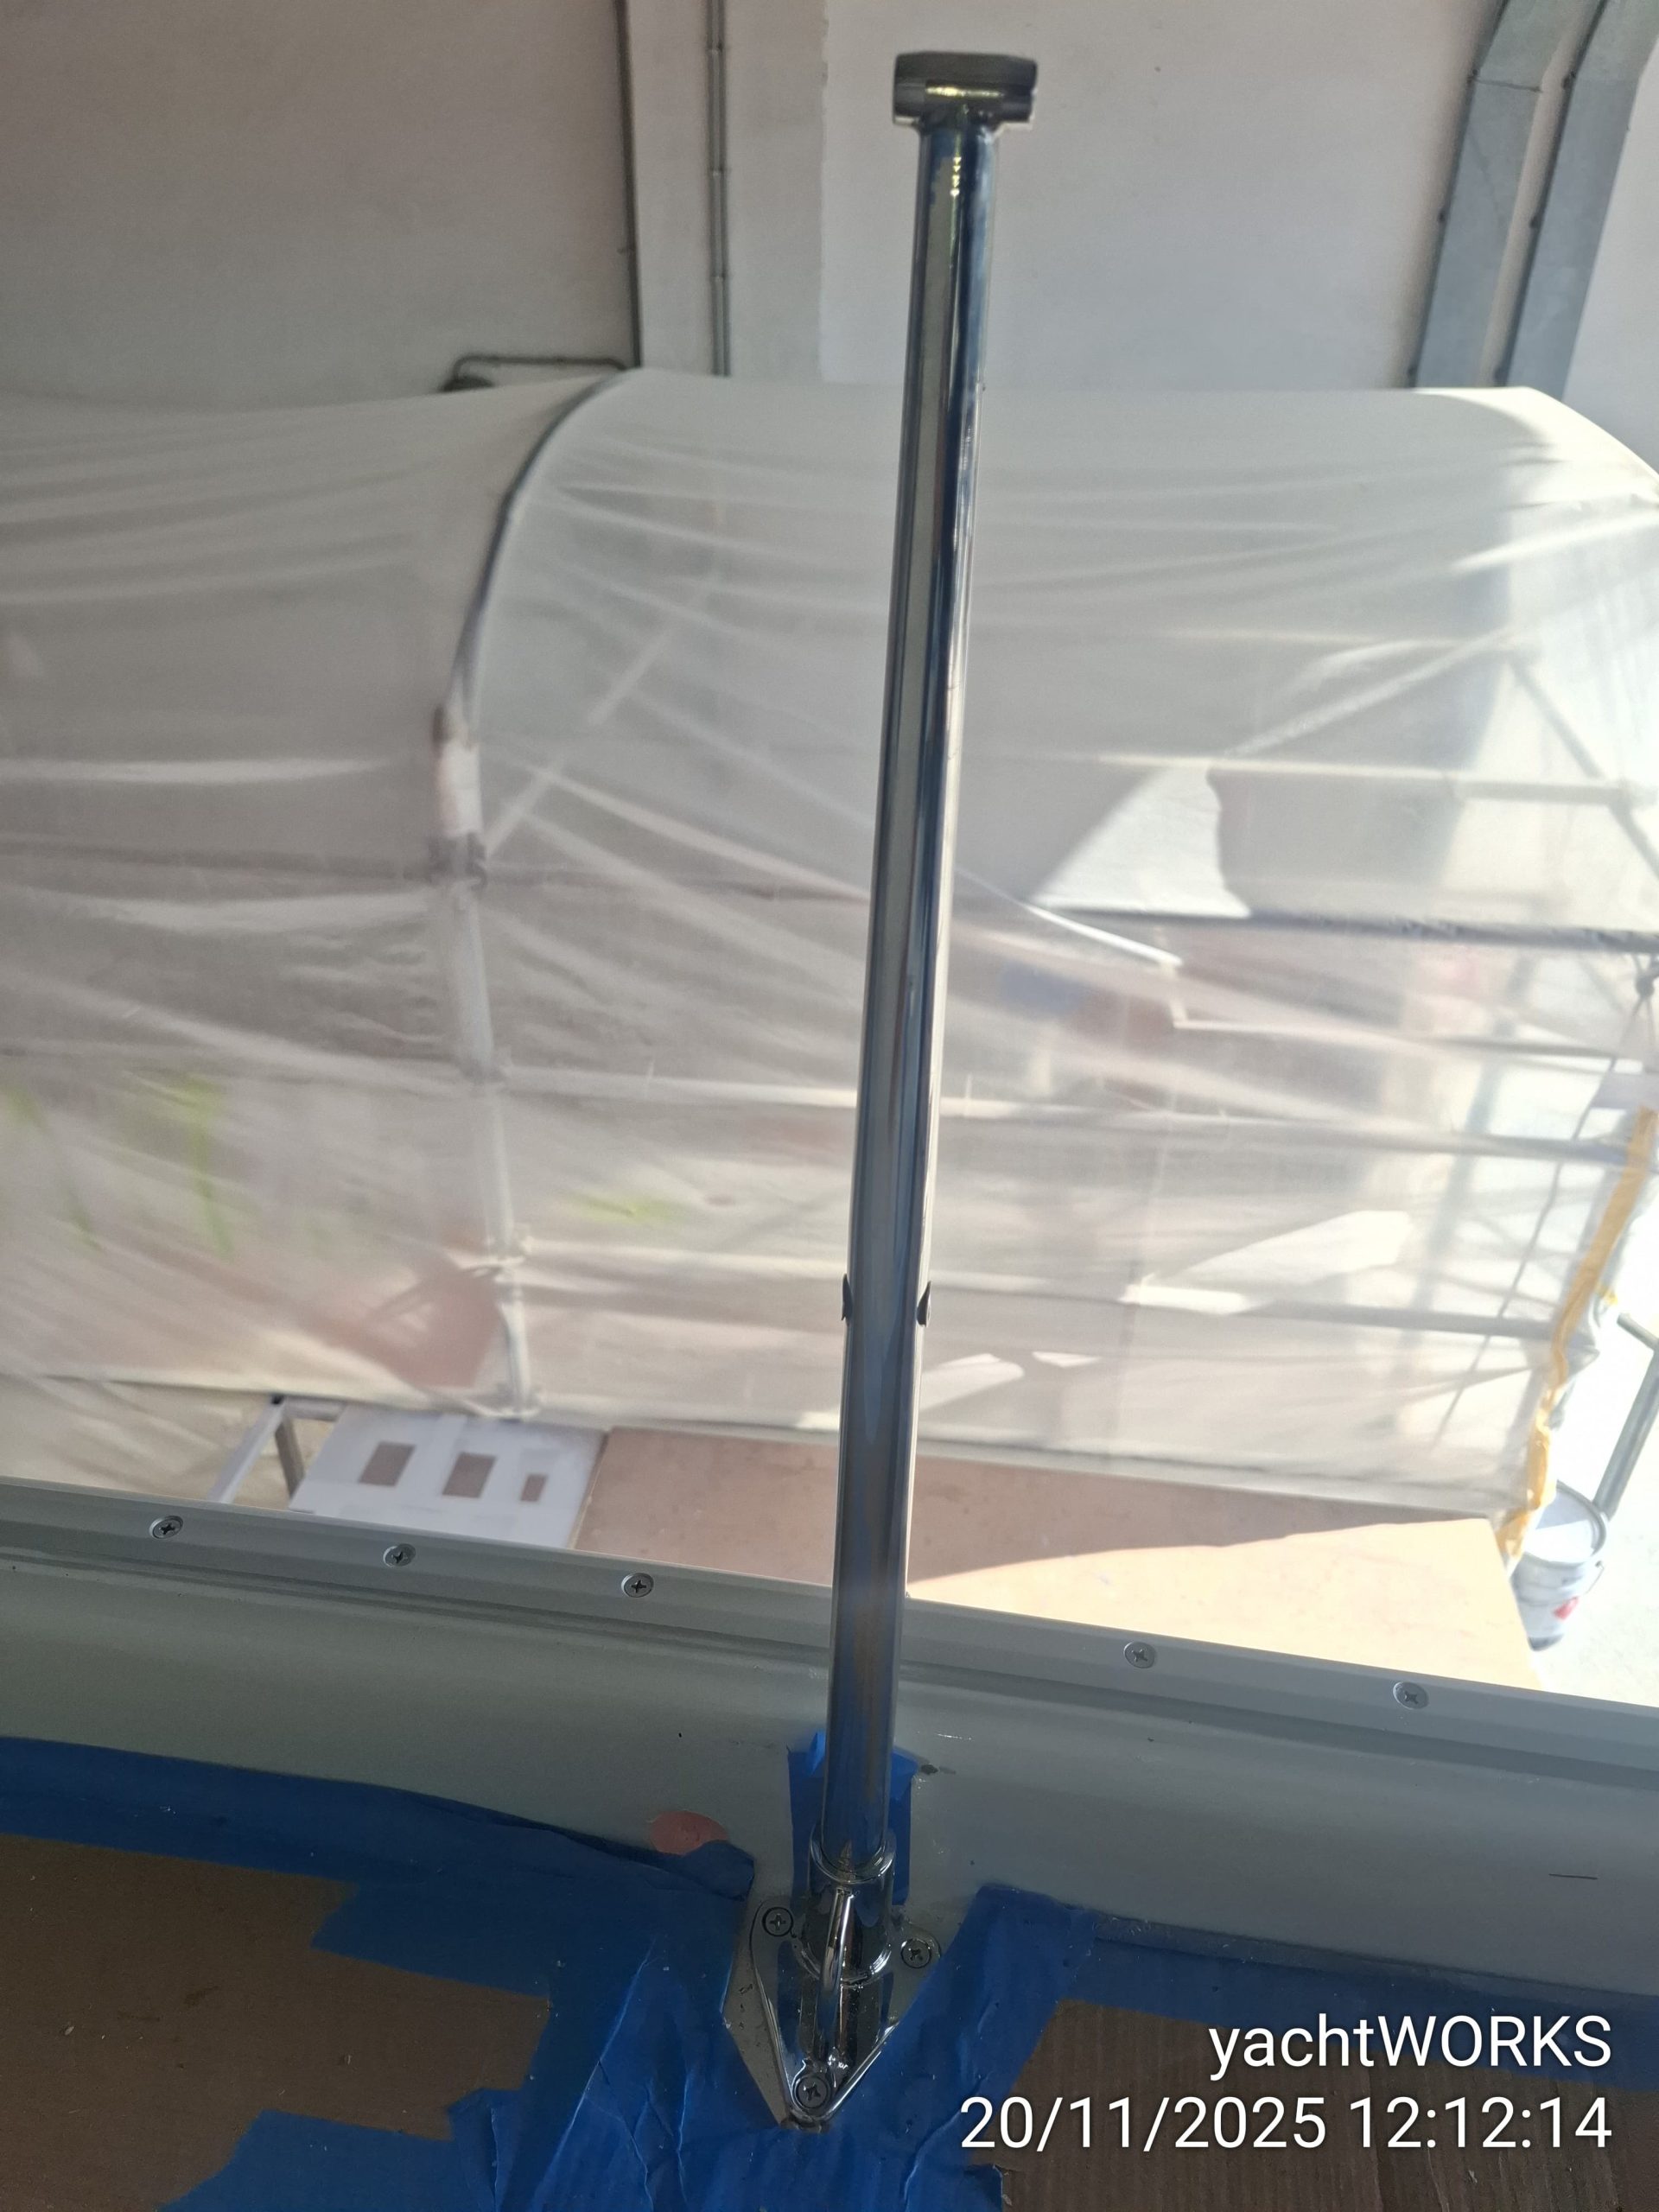
Day 168 – Stanchion bases and genoa rails are installed

Day 181 – Solar plates are installed with sikaflex, for a tight fit heavy weights are applied

Day 220 – Non-slip paint is prepared locally with granulated cork

Day 220 – Granulated cork

Day 220 – First layer of non-slip paint on cabin roof

Day 221- Application of non-slip paint on deck and cabin roof is finished

Clutches are installed on both sides of companion way

Clutches are fixed with 6 mm inox bolts & nuts